
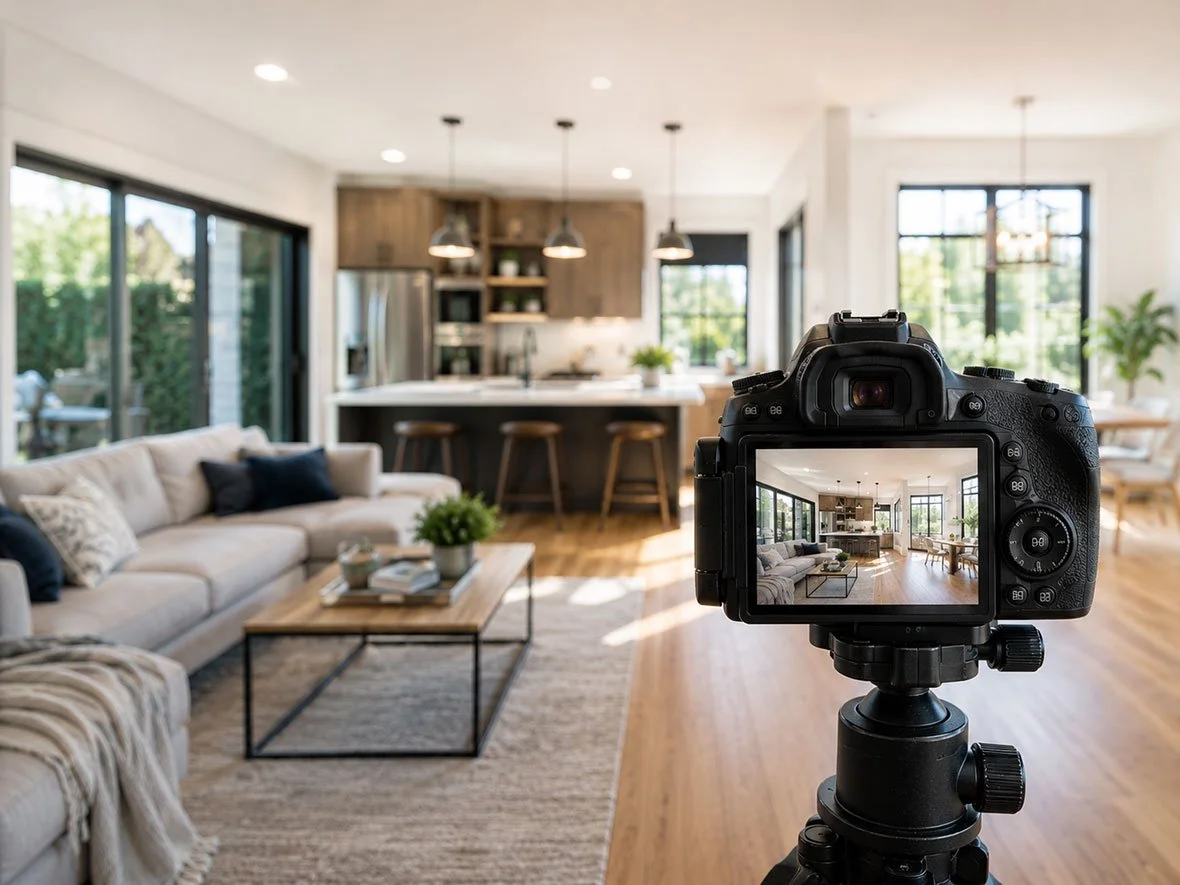
Real estate photography is more than taking attractive pictures of a home. The goal is to show the property clearly, accurately, and in a way that helps potential buyers understand the layout, condition, lighting, and key features before scheduling a showing.
For beginners, professional-looking results depend less on owning the most expensive camera and more on understanding preparation, lighting, composition, camera position, lens choice, and basic editing. Learning these fundamentals can make property images look cleaner, more consistent, and more useful in online listings.
Key Takeaways
Good real estate photography starts with a clean, decluttered, and properly prepared property.
A DSLR or mirrorless camera provides useful manual controls, but technique matters more than camera price alone.
A wide-angle lens helps capture more of a room, but excessive width can make spaces appear distorted.
A tripod helps maintain sharpness, consistent framing, and level vertical lines.
Lighting should balance natural and artificial sources without making the property look unrealistic.
Camera height and composition should help viewers understand each room rather than simply make it appear larger.
Basic post-processing can improve exposure, color, and perspective while preserving an accurate representation of the property.
Why Real Estate Photography Matters
Most property searches begin with online listings, where photographs are among the first elements prospective buyers see.
Before reading every detail or scheduling a showing, buyers may scroll through the image gallery to decide whether a property deserves further attention.
This gives photography an important marketing role.
High-quality images can make rooms easier to understand, highlight desirable features, and create a more consistent presentation across the listing.
Poor photographs can have the opposite effect.
Dark rooms, crooked walls, cluttered counters, excessive distortion, or inconsistent editing can distract viewers from the actual qualities of the property.
Real estate photography cannot guarantee a faster sale or higher selling price because market conditions, pricing, location, condition, and other factors also influence transactions.
Its role is to present the property as clearly and professionally as possible.
Start with Property Preparation
One of the easiest ways to improve real estate photography is to prepare the property before taking photographs.
A cluttered room is difficult to photograph effectively regardless of camera quality.
Kitchen counters should generally be cleared of unnecessary appliances, dishes, cleaning products, and personal items.
Bathrooms can be simplified by removing toiletries, towels that look disorganized, medication, and other distractions.
Bedrooms should have neatly made beds, while living rooms may benefit from removing unnecessary furniture or decorations.
The goal is not to make the property feel empty.
Instead, simplify each room so viewers focus on the home's layout, finishes, and features.
Exterior areas also deserve attention.
Move vehicles when possible, store trash bins, organize patio furniture, remove garden hoses, and clean up visible debris before photographing the property.
Essential Camera Equipment for Beginners
Beginners do not necessarily need the most expensive professional equipment.
A camera that provides manual exposure control and supports interchangeable lenses is a strong starting point.
| Equipment | Why It Helps |
|---|---|
| DSLR or mirrorless camera | Provides control over exposure and lens choice |
| Wide-angle lens | Captures more of interior spaces |
| Tripod | Improves stability and composition |
| Spare batteries | Prevents interruptions during a shoot |
| Memory cards | Provides sufficient storage |
| Remote or timer | Reduces camera movement during long exposures |
A DSLR or mirrorless camera gives the photographer more control over shutter speed, aperture, ISO, and focal length than many automatic shooting systems.
However, equipment should support technique rather than replace it.
A beginner who understands lighting and composition can often produce stronger results with modest equipment than someone using an expensive camera without understanding the fundamentals.
Choose a Wide-Angle Lens Carefully
Wide-angle lenses are common in real estate photography because interior spaces can be difficult to capture from a single position.
A wider field of view allows more of the room to fit into the photograph.
This is particularly useful in bathrooms, bedrooms, kitchens, and smaller living spaces.
However, going too wide can create distortion.
Furniture near the edges of the frame may appear stretched, and rooms can look significantly larger than they do in person.
The goal should be to show enough of the room to communicate its layout while keeping proportions believable.
Whenever possible, step back or adjust the camera position before automatically choosing the widest lens setting.
Use a Tripod for Consistency
A tripod is one of the most useful pieces of equipment for beginner real estate photographers.
Interior photography often requires slower shutter speeds, especially when natural light is limited.
Handholding the camera at slow shutter speeds can introduce blur.
A tripod keeps the camera stable and allows the photographer to use lower ISO settings, which can help preserve image quality.
It also makes composition more consistent.
Once the camera is positioned correctly, small adjustments can be made without completely changing the angle.
Tripods are particularly useful when using exposure bracketing because several images need to be captured from the exact same position.
Keep Vertical Lines Straight
Crooked walls and leaning doorframes are common beginner mistakes.
Architecture contains many vertical lines, including walls, windows, doors, cabinets, and trim.
When the camera is tilted upward or downward, those vertical lines can begin to converge.
The room may look as though the walls are leaning.
Try to keep the camera level whenever possible.
A tripod with a built-in level can help.
Minor perspective problems can also be corrected during editing, but capturing the image correctly in the first place reduces the amount of correction required later.
Straight vertical lines give property photographs a cleaner, more professional appearance.
Choose the Right Camera Height
Many beginners photograph every room while standing at normal eye level.
That is not always the most effective position.
Camera height should depend on the room and what needs to be visible.
Living rooms and bedrooms may benefit from a slightly lower position that balances furniture with the overall space.
Kitchens may require a somewhat higher position to show countertops without revealing too much of the top surfaces.
Bathrooms require careful placement because mirrors, counters, and small dimensions can make composition challenging.
Experiment with camera height until the room looks balanced and natural.
The objective is to show the property clearly, not create an exaggerated perspective.
Common Beginner Mistakes to Avoid
One frequent mistake is using a lens that is too wide.
Another is tilting the camera excessively, which creates leaning walls.
Beginners may also rely on automatic camera settings that produce inconsistent brightness from room to room.
Other problems include photographing clutter, ignoring exterior preparation, overediting images, and delivering too many repetitive angles.
Avoid trying to make every room look enormous.
Strong real estate photography should make a property attractive while remaining believable.
Accurate presentation builds more useful expectations for buyers.
Frequently Asked Questions
What type of camera is best for beginner real estate photography?
A DSLR or mirrorless camera with manual exposure control and interchangeable lenses is a practical choice.
Beginners should prioritize learning lighting, composition, camera settings, and lens use before investing heavily in advanced equipment.
What lens should I use for real estate photography?
A moderate wide-angle lens is commonly used because it captures more of interior spaces.
Avoid excessive width that creates obvious stretching or makes rooms appear unrealistically large.
Do I need a tripod for real estate photography?
A tripod is highly recommended.
It improves stability, helps keep camera positions consistent, supports slower shutter speeds, and makes exposure bracketing easier.
Should I turn on every light when photographing a property?
Not necessarily.
Artificial lighting can add warmth but may also introduce inconsistent color temperatures. Evaluate the natural light, fixture colors, and overall room appearance before deciding which lights should be used.
Build Strong Photography Skills One Technique at a Time
Real estate photography becomes easier when beginners focus on fundamentals rather than trying to learn every advanced technique immediately.
Start by preparing the property properly.
Use a stable camera position, keep vertical lines straight, choose a wide-angle lens carefully, and learn how natural and artificial light affect each room.
Then develop consistent composition and basic post-processing skills.
As those fundamentals become familiar, techniques such as exposure blending, supplemental lighting, drone photography, virtual tours, and other forms of property media can be added gradually.
The strongest real estate photographs are not necessarily the most dramatic. They are the images that help viewers understand the property clearly while presenting its real features in a clean, professional way.
Learn More about real estate photography techniques and ways to improve your property marketing images.